
Step-by-step guide to launch your professional website using simple drag-and-drop tools.
In today’s digital world, your personal brand is your most valuable asset — and your website is the home of that brand. Whether you’re a coach, consultant, freelancer, creator, or entrepreneur, having a polished personal website helps you showcase your expertise, attract opportunities, and build trust with your audience.
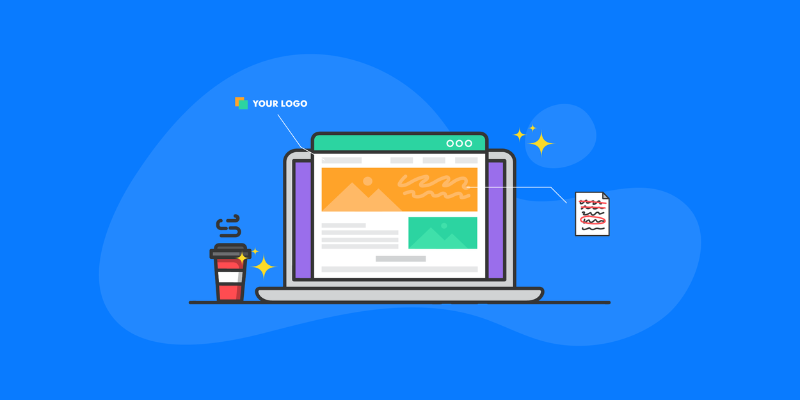
The good news? You don’t need to know coding or spend thousands of dollars to create a professional-looking site. With modern drag-and-drop tools like WordPress + Elementor, Wix, or Squarespace, anyone can build a beautiful site in just a few hours.
Here’s your step-by-step guide to launching your personal brand website the easy way:
Why You Need a Personal Brand Website
Before diving in, let’s quickly recap why having your own site matters:
✅ Positions you as an authority in your field
✅ Makes it easy for clients or employers to find you
✅ Gives you a platform to share your story, work, and ideas
✅ Helps you stand out from competitors who rely only on social media
Social media platforms are great, but you don’t own them. A website is your home base on the internet — one you fully control.
Step 1: Define Your Brand & Purpose
Start by getting clear about what your website is for and who it’s for.
Ask yourself:
– What do I want visitors to feel or know when they land here?
– What’s the main action I want them to take (e.g., book a call, download a freebie, read my articles)?
– What 3–5 words describe my personal brand (e.g., approachable, expert, creative, trustworthy)?
This clarity will guide all your design and content decisions.
Step 2: Choose Your Platform
For a beginner-friendly experience, pick a drag-and-drop website builder:
– WordPress + Elementor: Highly customizable and scalable (recommended).
– Wix: Very beginner-friendly with lots of templates.
– Squarespace: Beautiful designs and simple interface.
If you want maximum flexibility and plan to grow your site over time, WordPress is usually the best choice.
Step 3: Get a Domain & Hosting
You’ll need:
– A domain name (yourname.com or something relevant to your brand)
– A hosting provider (if using WordPress; Wix & Squarespace include hosting)
Most platforms will guide you through buying and connecting your domain.

Step 4: Pick a Template & Customize
Once your platform is ready, choose a template that matches the vibe you want for your brand.
– Replace the default text & images with your own.
– Use your brand colors, fonts, and logo.
– Make sure the design looks good on both desktop & mobile.
Most drag-and-drop tools let you simply click, drag, and edit directly on the page — no coding required.
Step 5: Add the Essential Pages
At minimum, your personal brand website should include:
✅ Home Page — Who you are & what you offer
✅ About Page — Your story & credibility
✅ Services/Work — How you can help them
✅ Contact Page — How to get in touch
✅ Optional: Blog, testimonials, portfolio, or a lead magnet (like a free guide)
Step 6: Optimize & Launch
Before publishing:
– Proofread all your text
– Check that all buttons & links work
– Test on mobile & tablet devices
– Connect your site to Google Analytics for tracking
– Set up basic SEO (like page titles & meta descriptions)
Then… hit Publish and share it with the world!
Final Tips
🌟 Keep it simple — don’t overcomplicate your first version.
🌟 Use high-quality photos (even if they’re from your smartphone).
🌟 Add a clear call-to-action (like “Book a Call” or “Get My Free Guide”).
A personal brand website isn’t just a digital business card — it’s a powerful tool to tell your story, attract opportunities, and grow your audience. Start building yours today — it’s easier than you think!